In this exercise, you’ll use IntelliShell to create and run several queries that retrieve data from the customers collection. The queries will be based on values in the interests array.
To build the queries in IntelliShell
1. Launch Studio 3T and connect to MongoDB Atlas.
2. In the Connection Tree, right-click the sales database node and click Open IntelliShell. Studio 3T opens IntelliShell in its own tab in the main window.
3. On the IntelliShell toolbar, you’ll see that both the Auto-Completion button (the lightning bolt icon) and Query Assist button are already enabled by default. Make sure that both buttons are enabled. These will make it easier to view the results returned by the mongo shell commands.
4. At the command prompt in the IntelliShell editor, replace any existing code with the following find statement:
db.customers.find(
  { "interests": { $elemMatch: {$eq: "Database"} } },
  { "last" : 1.0, "interests": 1.0 } );
The statement uses the $elemMatch operator to match documents that contain the Database value in the interests array.
As long as any array element matches the operator’s search condition ({$eq: "Database"}), the document will be returned. In other words, the results will include any document that has an array value that equals Database.
The statement also limits the results to the last and interests fields, which are specified as the second argument passed to the find method.
The 1.0 value associated with each field indicates that the field should be included in the results, as opposed to being excluded.
5. On the IntelliShell toolbar, click the Run entire script button (![]() ). Studio 3T runs the
). Studio 3T runs the find statement and returns the results in the bottom window, displaying them in the Find Query tab.
6. The Find Query tab displays results in Table View. Choose Table View if it’s not already selected.
7. If the values in the interests array are not displayed, right-click one of the values in the interests column and then click Show Embedded Fields.

The query should have returned 22 documents. The following figure shows part of those results. Notice that the Database value can appear in any position within the array.

8. At the command prompt in the IntelliShell editor, replace the existing code with the following find statement:
db.customers.find(
  { interests: "Database" },
  { "last" : 1.0, "interests": 1.0 } );
The statement returns the same results as the previous find statement; however, you do not need to use the $elemMatch operator because you’re defining only one search condition.
9. On the IntelliShell toolbar, click the Run entire script button. The statement should return the same 22 rows as the previous example.
10. At the command prompt in the IntelliShell editor, replace the existing code with the following find statement:
db.customers.find(
  { "interests.0": "Web Design" },
  { "last" : 1.0, "interests": 1.0 } );
The statement uses dot notation (interest.0) to specify the index position when verifying values in the interests array.
MongoDB indexes are zero-based, so interests.0 refers to the first position in the interests array. As a result, the statement will return only documents whose first value in that array is Web Design.
When using dot notation in this way, you must enclose the field and index position in quotation marks.
If you refer to the preceding example, you’ll see that the interests field name, when used alone, does not need to be enclosed in quotes, although quotation marks can be used.
11. Run the entire script. The query should return only three documents. For each document, the first value in the interests array should be Web Design.

12. At the command prompt in the IntelliShell editor, replace the existing code with the following find statement:
db.customers.find(
  { interests: { $size: 4 } },
  { "last" : 1.0, "interests": 1.0 } );
The statement uses the $size operator to specify that the interests array should include exactly four elements for the document to be returned.
13. Run the entire script. The query should return seven documents, each containing four values in the interests array.
14. At the command prompt in the IntelliShell editor, replace the existing code with the following find statement:
db.customers.find(
  {
    "$and": [
      { "interests": { $elemMatch: { $eq: "Database" } } },
      { "interests": { $elemMatch: { $eq: "Web Design" } } } ]
  },
  { "last" : 1.0, "interests" : 1.0 } );
The statement uses the $and operator to define two search conditions that must both evaluate to true for a document to be returned.
Each search condition uses the $elemMatch operator to indicate that the interests array must contain the specified values (Database and Web Design, respectively).
15. Again, run the entire script. This time, the statement returns only two documents.
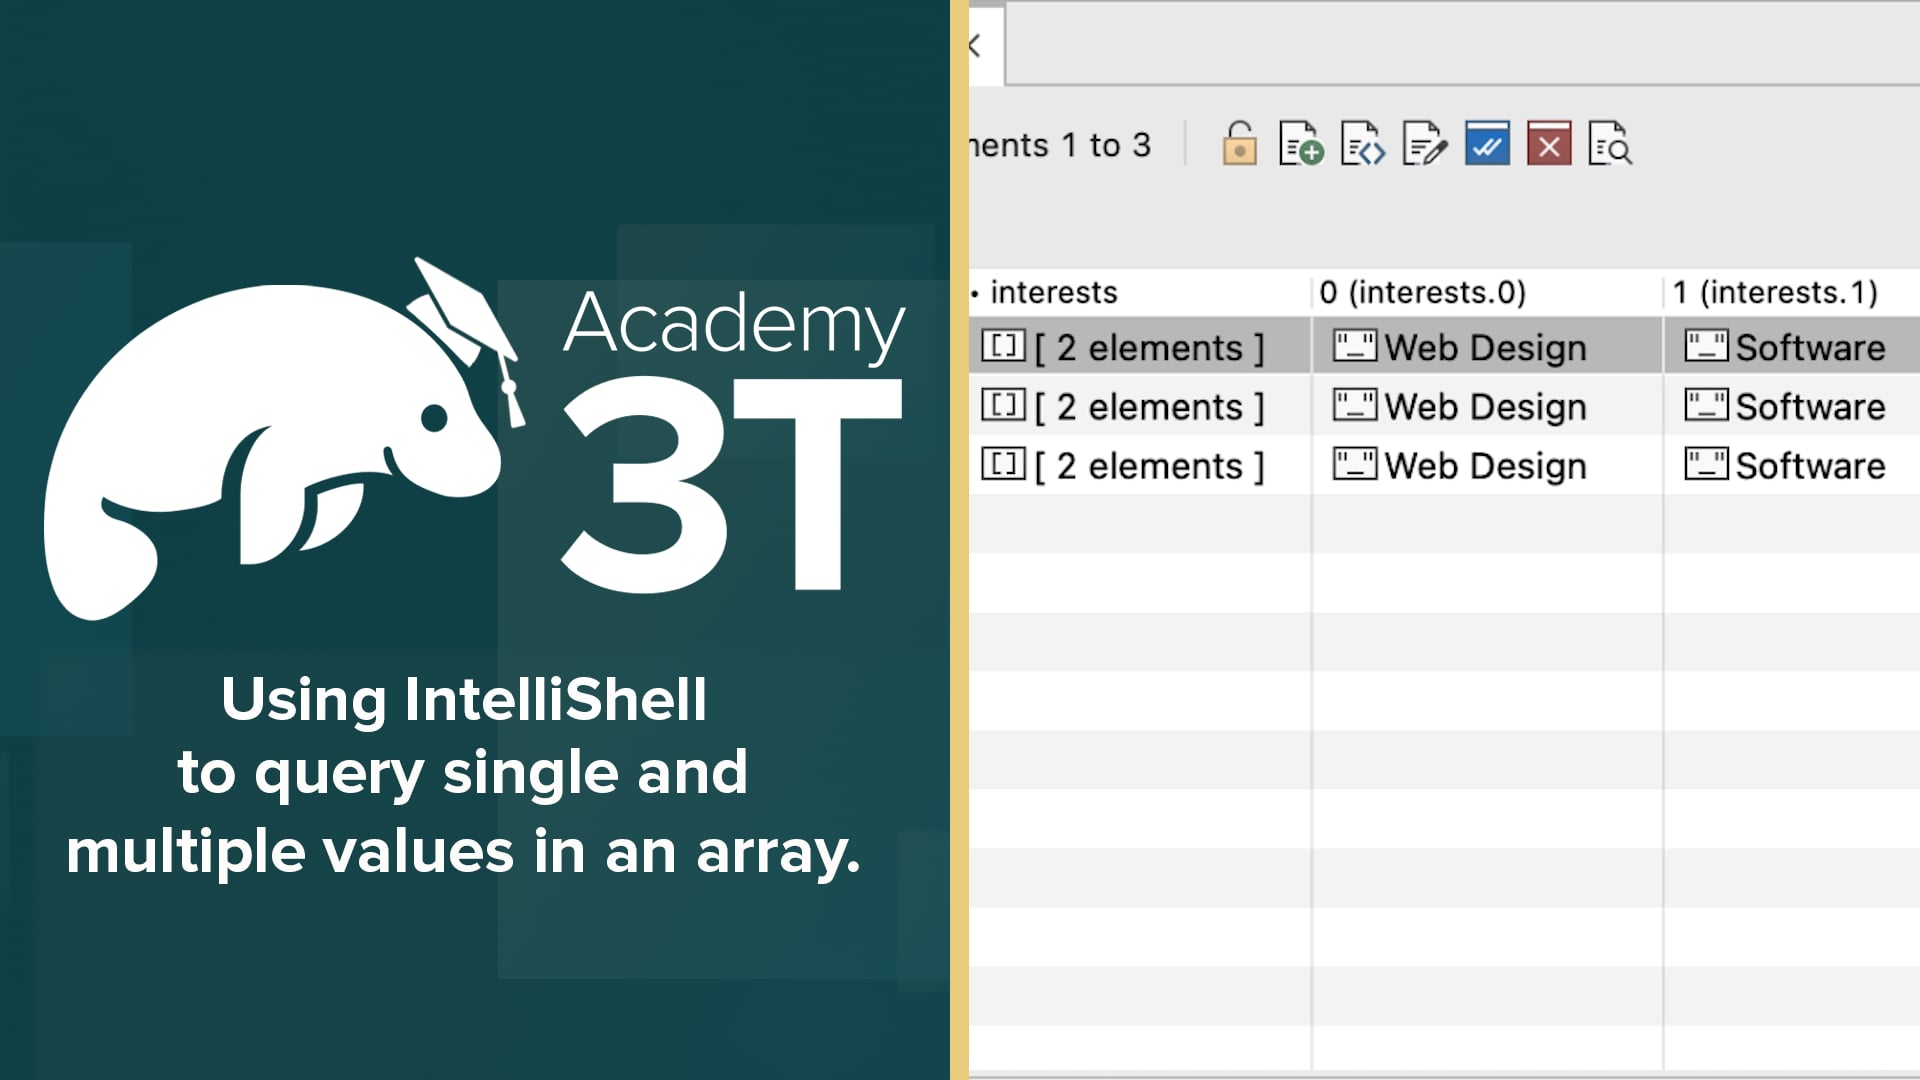
16. Now, right-click one of the values in the interests column and then click Show Embedded Fields.
Each document includes the Database and Web Design values in the interests array, as shown in the following figure.

17. At the command prompt in the IntelliShell editor, replace the existing code with the following find statement:
db.customers.find(
  {
    "$and": [
      { "interests": "Database" },
      { "interests": "Web Design" } ]
  },
  { "last" : 1.0, "interests" : 1.0 } );
The statement works just like the previous one, except that it does not use the $elemMatch operator, helping to simplify the overall statement.
18. Click the Run entire script button. You should receive the same results as the previous statement.
19. Replace the existing code with the following find statement:
db.customers.find(
  { "interests": { $all: ["Database", "Web Design"] } },
  { "last" : 1.0, "interests" : 1.0 } );
Rather than using the $and operator, the statement uses the $all operator, which provides a simple way to specify that returned documents should include certain values in the target array.
The values themselves are passed to the $all operator as an array, which in this case includes the Database and Web Design elements.
20. Run the entire script again. You should receive the same results as the previous two statements.
21. Close the IntelliShell tab. If prompted to save your changes, click No.

