In this tutorial, we’ll show you how to connect to ObjectRocket with Studio 3T, the professional GUI for MongoDB.
Prerequisites:
- Sign up for an ObjectRocket instance (ObjectRocket offers a 30-day free trial).
- Download Studio 3T on your Windows, Mac, or Linux machine, in case you haven’t yet.
Connect to ObjectRocket
Choose your MongoDB instance
To connect to ObjectRocket, you’ll first need to log into their web interface to gather the connection details.
- Sign in with your ObjectRocket account.
- You’ll see a list of your hosted instances. Click on your target instance, which is ObjectRocket in our example

3. A detailed overview of your instance will open up. You need to configure two key settings to ensure a seamless connection through a MongoDB GUI like Studio 3T, namely Add ACL and Databases.
Add an ACL
ACL stands for Access Control List, which limits the IPs that can connect to your instance.
- Click on the Add ACL button, or click on the Security tab then choose Add ACL.

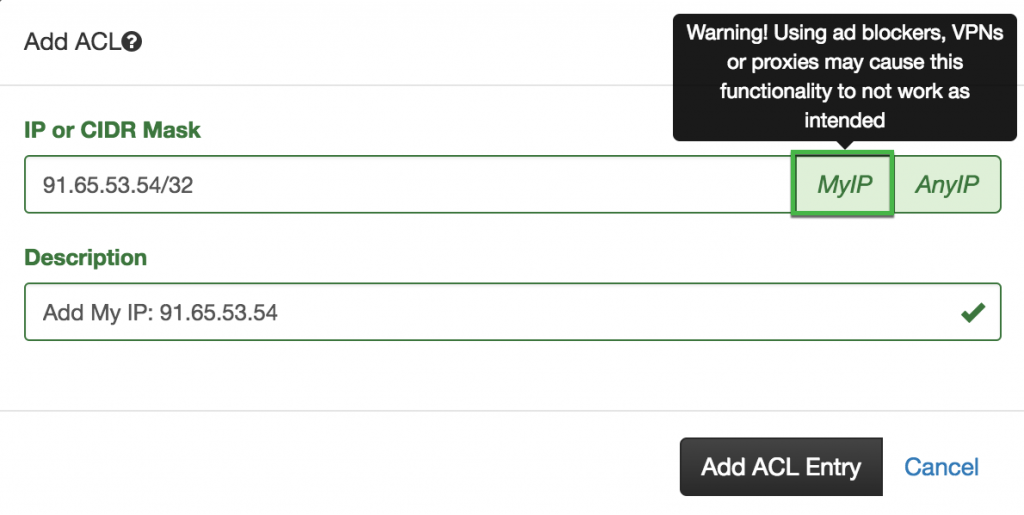
2. Configure your ACL settings. MyIP limits the connection to your own IP address. Use this only if you have a static IP address!
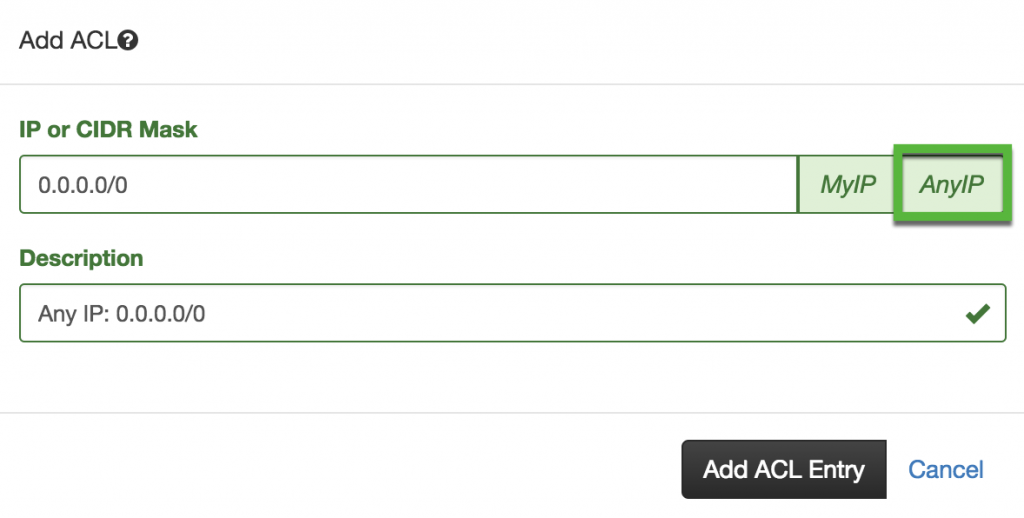
AnyIP allows access to any IP address, which is ideal if you have a dynamic IP address. Use this only when dealing with test databases, and make sure to update your settings when working on production databases!
3. Click Add ACL Entry. You should see the ACL immediately.

Add a database and user
You need to have a database and a user set up so that you can connect to Studio 3T.
- Click on the Databases tab. This will open up an overview of your databases.
If you haven’t set up a database, follow these steps on how to add a database and user.

2. Click on your target database, which is marine_mammals in our example.
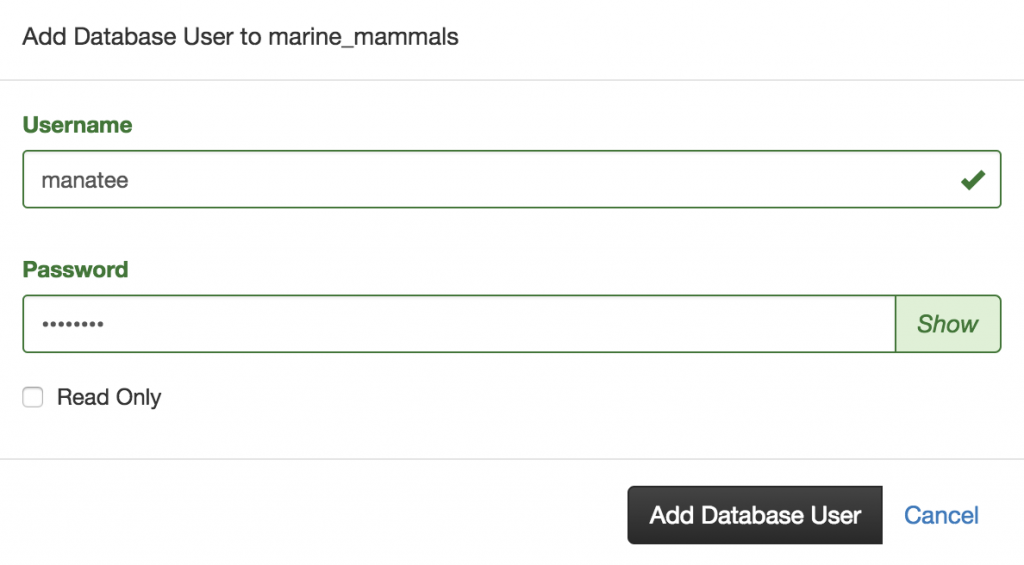
3. Click on the Users tab. You should already have an existing user from Step 1, but click on Add User to create another if needed. Fill out the fields and click Add Database User.
Now that you’ve added an ACL and ensured you have a working database and user, you’re ready to copy your connection details.
Copy your connection details
- While on Database view, switch over to the Connect tab.
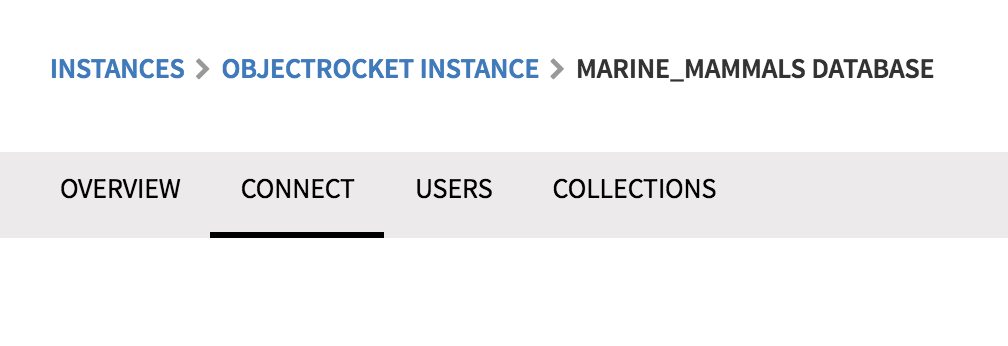
2. Go to the section called MongoURI. Here you will find the exact MongoDB URI you’ll paste into Studio 3T. You’ll also notice that the connection snippet contains placeholder texts (e.g. YOUR_USERNAME, YOUR_PASSWORD) – these can be easily modified later.

3. Copy the snippet. Now we’re ready to head to Studio 3T!
Studio 3T’s Connection Manager
Connect via MongoDB URI
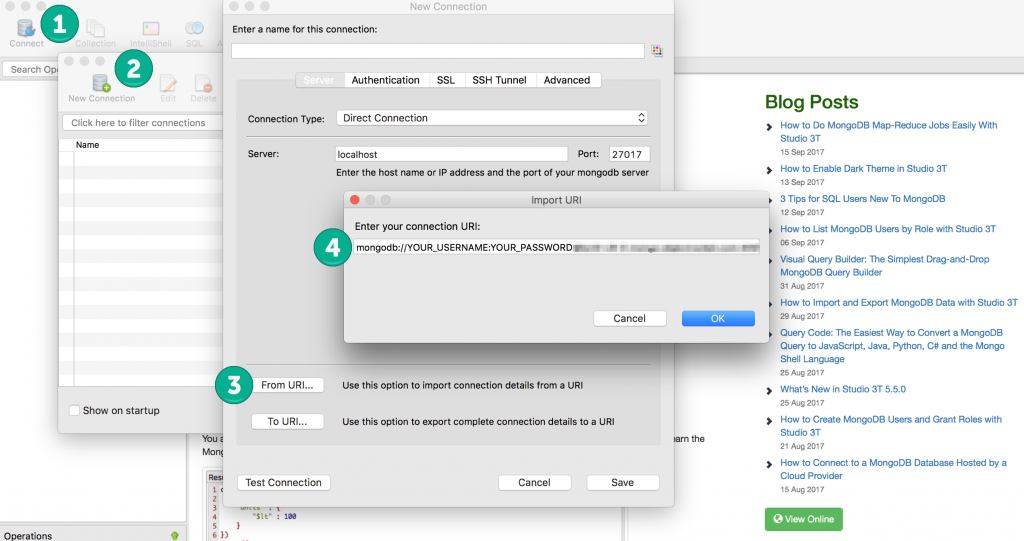
- Open Studio 3T and click on Connect.
- Choose New Connection.
- Click on From URI – this will open up the Import URI window.
- Paste the connection snippet from ObjectRocket and click OK.
Configure details
Now it’s time to modify the placeholder texts.
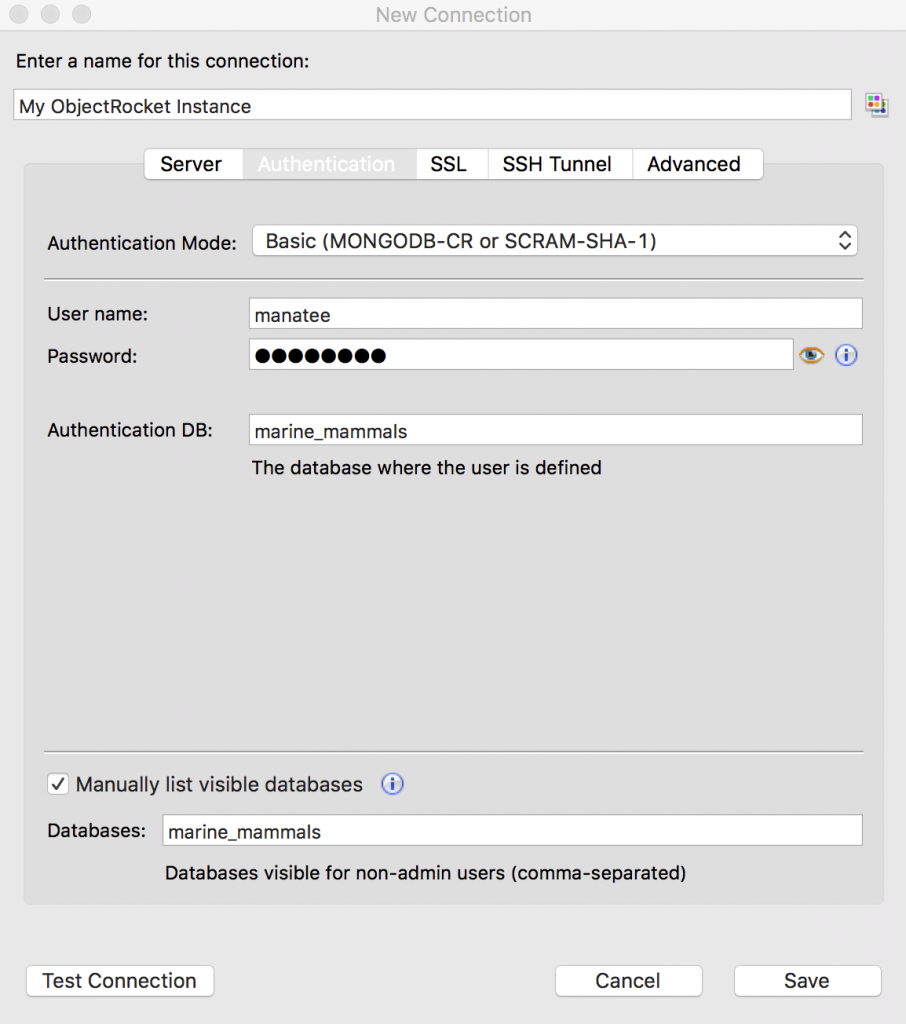
- Click on the Authentication tab to modify your username and password.
- Enter a name for the connection.
- Click Save.
- Click Connect.
Common errors
Creating a MongoDB database
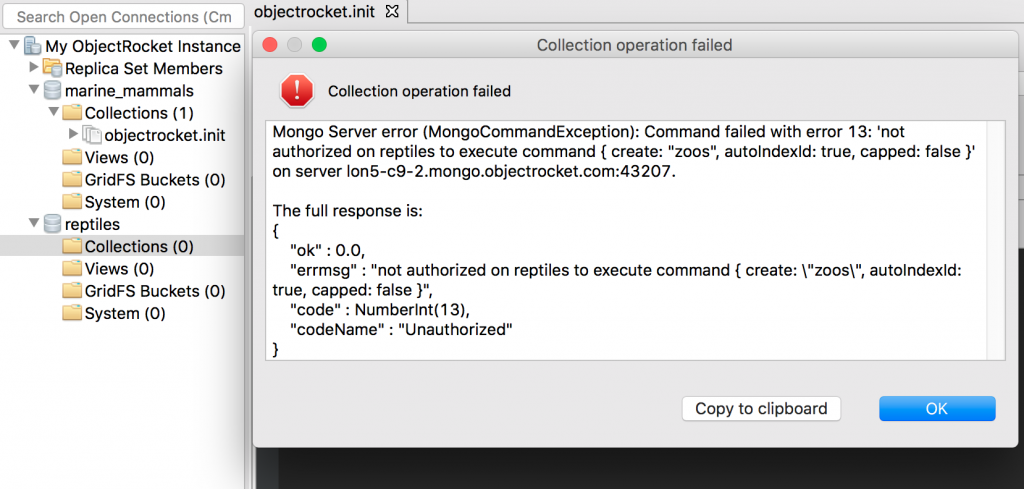
Studio 3T makes it easy to create a database directly within the GUI: right-click on a server, click Add Database, and done.
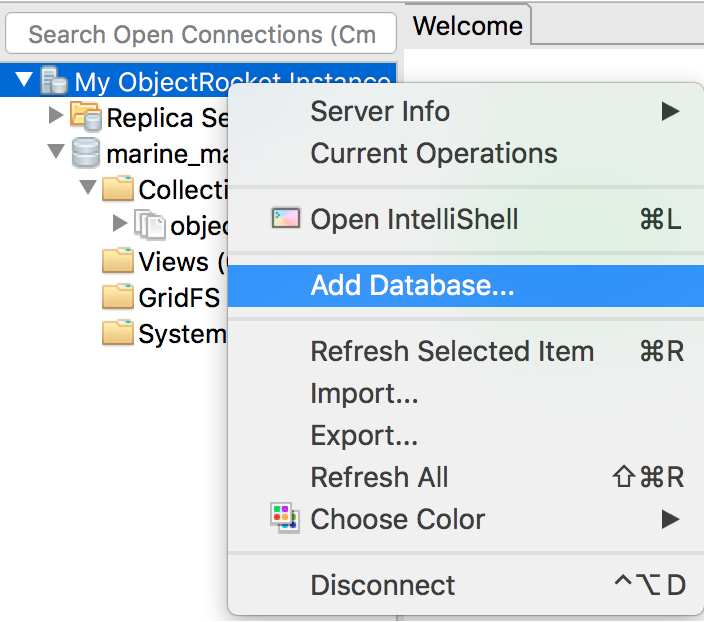
Even though Studio 3T will display your newly added database (in this case, reptiles), you will eventually come across this authorization error:
Creating a MongoDB user
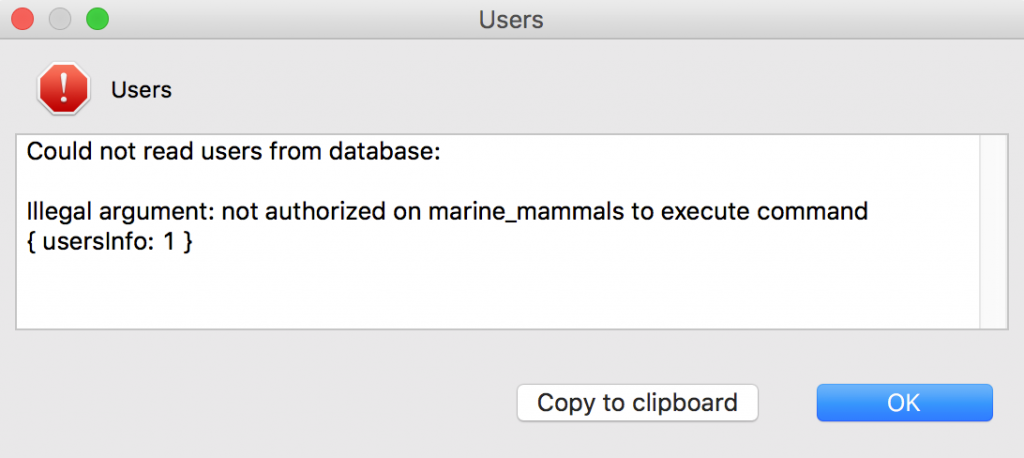
Similar to creating a database, you also need to create all database users through ObjectRocket’s web interface.
Creating a user on Studio 3T throws this authorization error:
Showing MongoDB databases
Executing a simple show.dbs command on Studio 3T’s IntelliShell will also not work because of missing authentication:
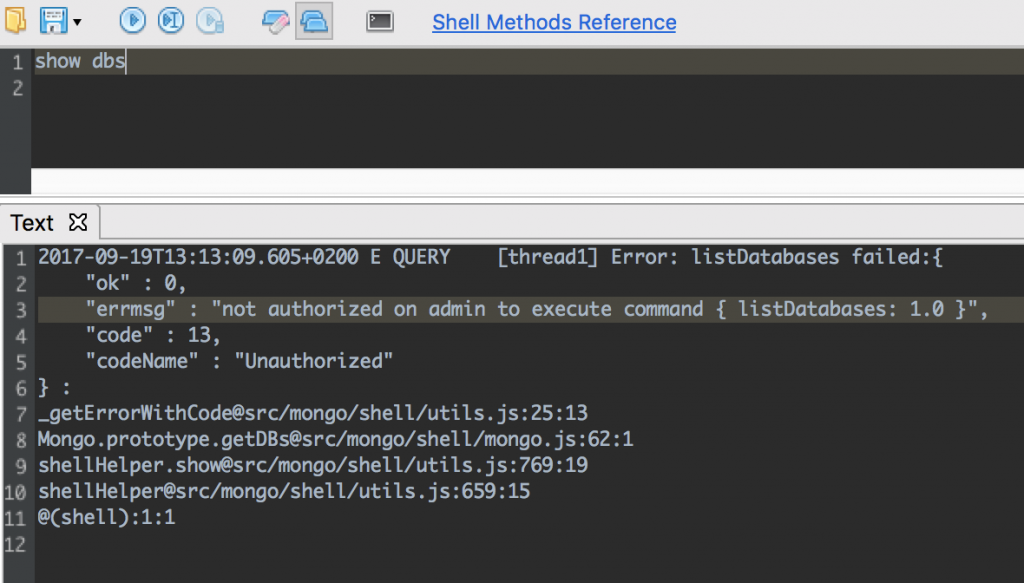
You can view a list of databases on ObjectRocket’s web interface, under the Databases tab.
Learn more
Find other MongoDB tutorials on the Studio 3T Knowledge Base.
Pressed for time? Subscribe to the Studio 3T YouTube Channel for quick MongoDB tips, tricks, and how-tos.
