In this tutorial, we’ll show you how to export your MongoDB data directly to a live SQL database using Studio 3T’s MongoDB to SQL Migration tool.
First things first
- Studio 3T: Make sure you have Studio 3T up and running.
- SQL database: Have your SQL connection details ready. This tutorial uses PostgreSQL, but Studio 3T supports migration to MySQL, Oracle, Microsoft SQL Server, and IBM DB2.
For this MongoDB to SQL migration tutorial, we’ll make use of two datasets:
- Raleigh Durham Airport Weather History
- Air Traffic Passenger Statistics
1 – Open SQL Migration
In Studio 3T, in the global toolbar, select MongoDB → SQL Migration:

2 – Choose the MongoDB source connection
To connect to the MongoDB server with the collections you want to migrate, click on Click here to connect to a server.
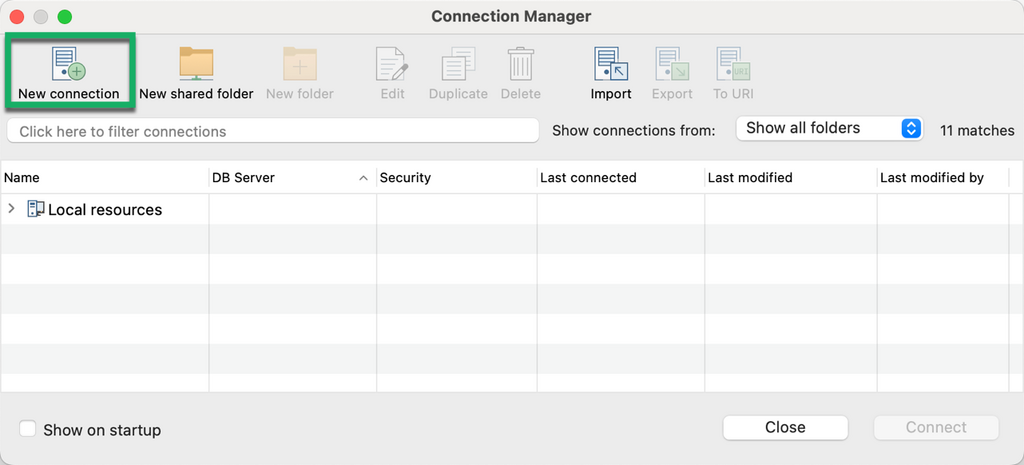
In the Connection Manager dialog, you can either: connect to an existing MongoDB server or create a new connection, which if you’re a first-time user of Studio 3T you’ll likely need to set up a connection to MongoDB.
To create a new MongoDB connection, click the New Connection button.
In the New Connection dialog, paste the connection string and click Next.
Alternatively, you can click Manually configure my connection settings to manually specify the details.
Click Save, then Connect.
3 – Choose your SQL target connection or directory
With Studio 3T, you can directly connect to a SQL server and immediately migrate data or save the migration as a SQL file path that you can run later at a convenient time.
Set SQL target as Server
To connect to a SQL Server, select Server and click on Click here to connect to a server.
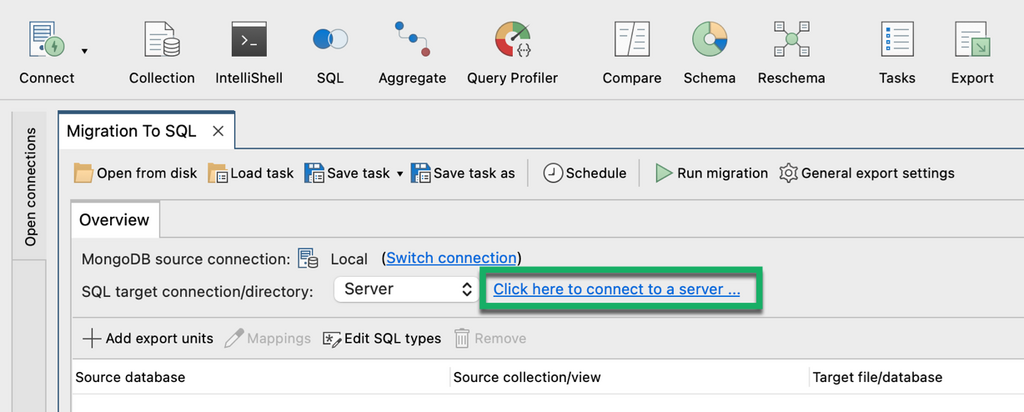
Similar to Step 2, this opens the SQL Connection Manager dialog.
Create a new SQL connection by clicking the New Connection button. Fill out the Server and SSH Tunnel tabs with the required details.
Click Save, then click OK.
Set SQL target as Directory
To save to a SQL file path, select Directory and choose the location of the statement file and the database type.
4 – Add export units
Now that we’ve successfully connected to both the MongoDB and SQL servers, it’s time to choose the data to export.
Click on Add export units. Each export unit corresponds to one single export of a source collection.
Here we’re going to choose the collections we want to migrate to PostgreSQL, which are:
- Raleigh Durham Airport Weather History
- Air Traffic Passenger Statistics
Click OK.
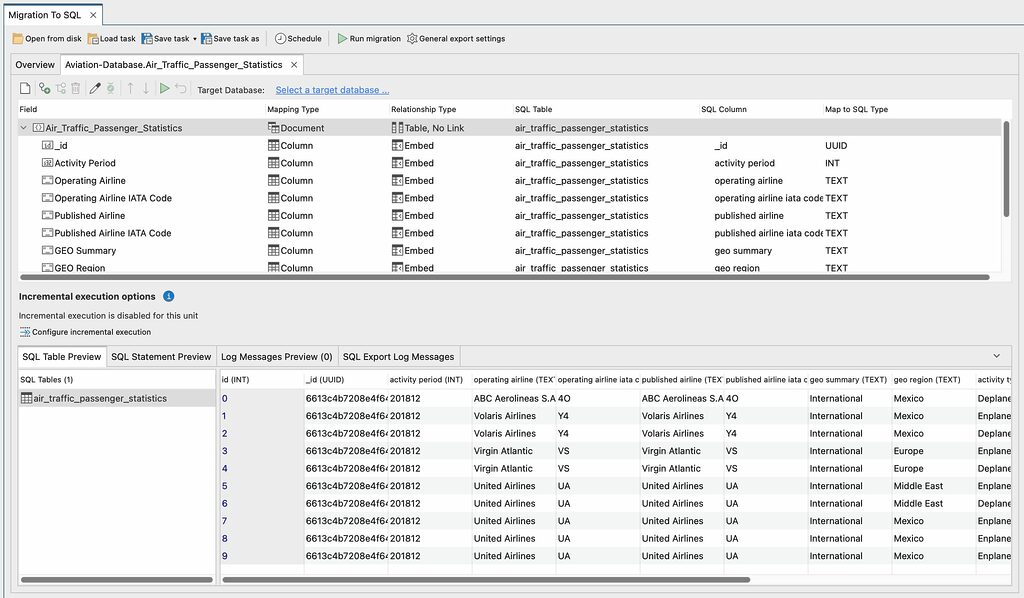
To generate a SQL Table Preview of the data and the SQL table(s) that will be created from the MongoDB collections, select the source collection and then click the Mappings button.
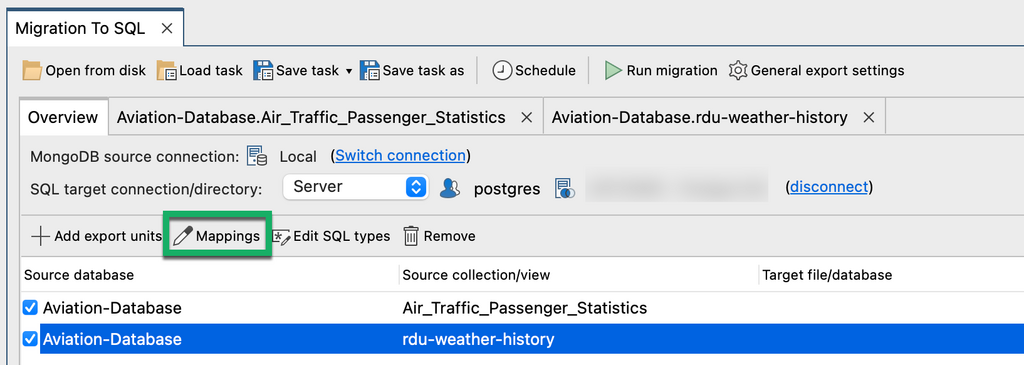
Studio 3T shows the field mappings including the SQL data types:
5 – Run the export
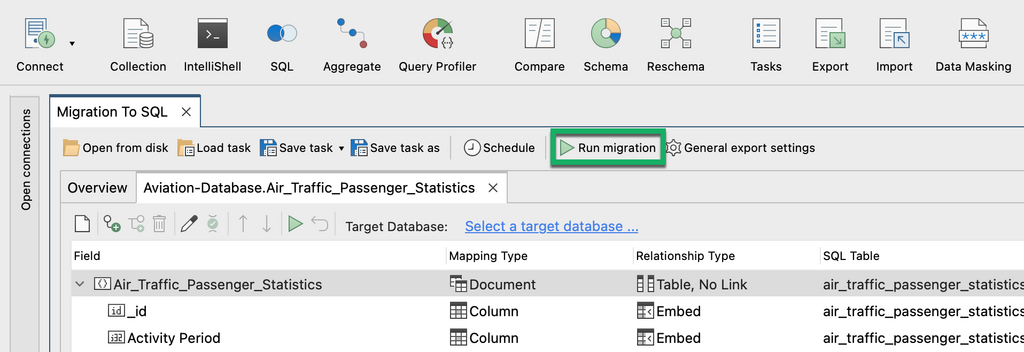
When you’re satisfied that the data is correctly structured and maps to the right data types, then it’s time to run the export by clicking the Run migration button in the top toolbar.
You can track the export in the Operations pane which you’ll find in the lower-left side of Studio 3T.
When the export is complete, open the SQL database to see the imported data.
Next steps
Learn more about exporting from MongoDB to SQL, incremental execution or batched exports, and how you can automate SQL migration.
This article was originally published by Dakota Karlsson and has since been updated.
