Studio 3T bundles mongo tools by default, but we’ve made it possible to point IntelliShell, mongodump, and mongorestore to use your preferred version of those tools.
If you wish to use a particular version of MongoDB tools, you will need to download the relevant executable files for that MongoDB version:
MongoDB tools may also be available from your Linux distribution’s software installer, via Homebrew on macOS, or through a Windows package manager such as Chocolatey.
There are two options when configuring your selected tools in Studio 3T. You can set the system’s PATH environment variable to include a directory where you have installed the tools, or you can directly point at the executable files. These two options are covered below. The same options also exist for per-connection tool settings.
Option 1: Use the executable (.exe) file from the PATH environment variable
1. Open the command prompt or terminal.
2. Add the executable file paths to the $PATH variable. These files are usually in the bin directory where the distribution was unpacked.
bin/mongofor mongo shell/IntelliShellbin/mongorestorefor mongorestorebin/mongodumpfor mongodump
3. Open Studio 3T and go to Studio 3T > Preferences.
4. Select the ‘PATH’ option:
- On the Tools > IntelliShell page, select the Use the ‘mongo’ or ‘mongosh’ executable found on the ‘PATH’ environment variable option.
- On the External tools > MongoDB tools page, under the Mongorestore or Mongodump section, select the Use the ‘…’ executable found on the ‘PATH’ environment variable option.
If the PATH variable is correctly configured, Studio 3T picks up and uses the relevant executable file.
5. Click OK.
Option 2: Point to the .exe file under Preferences
1. Open Studio 3T and go to Studio 3T > Preferences.
2. Select the executable option:
- On the Tools > IntelliShell page, select the Use the following ‘mongo’ or ‘mongosh’ (starting from 1.1.1) executable option. Then in the field below, specify the path to the executable. The executable should be mongosh/mongo (Linux/macOS) or mongosh.exe/mongo.exe (Windows).
- On the External tools > MongoDB tools page, under the Mongorestore or Mongodump section, select the Use the following ‘…’ executable option. Then in the field below, specify the path to the executable. The executables should be mongorestore/mongodump (Linux/macOS) or mongorestore.exe/mongodump.exe (Windows). These files are typically found in the directory where you unpacked a MongoDB distribution.
3. Click OK.
Applying changes on a MongoDB connection level
1. Open the Connection Manager by clicking on the Connect button from the global toolbar, or Open Connection Manager on the Quickstart tab.
2. Choose a connection, then click on Edit in the toolbar.
3. Click on the IntelliShell or MongoDB Tools tabs.
- On the IntelliShell tab, clear the Use global settings checkbox, and select your preferred configuration for this connection.
- On the MongoDB Tools tab, clear the Use global settings checkbox, and under the Mongorestore or Mongodump section, select your preferred configuration for this connection.
4. Click Save.
Check your IntelliShell selection
1. Connect to a database and open IntelliShell.
- Button – Click on the IntelliShell button in the global toolbar
- Right-click – Right-click on a target collection and choose Open IntelliShell
- Shortcut – Press Ctrl + L (⌘+ L)
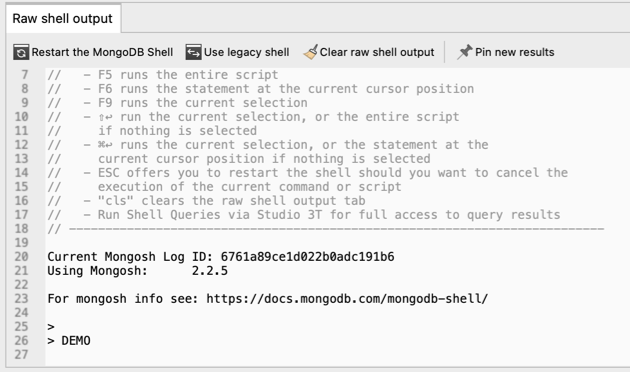
2. You should see a mongosh or mongo shell version number in the Raw shell output tab.

This article was originally published by Kathryn Vargas and has since been updated.


