With Windows 11 finally available, now is a good time to see how to assemble a database developer’s workflow on it. By the time we’ve finished, you’ll have a Windows 11 machine with MongoDB and Studio 3T installed, loaded with data and ready to explore.
Before we start though, as you may know, you can get your hands on a free MongoDB Atlas instance quite easily, well check out our 5 Reasons You Should Install A Local MongoDB Database if you want the long answer. If you want the TL;DR version:
- There’s no cap on the database size. Atlas’s free service has a 512MB storage limit. So if you want to work with some big data sets a local MongoDB means you are free to do so.
- If you want to get familiar with MongoDB’s users and roles, you can do that with a local database. MongoDB users and roles are replaced with a different management scheme on Atlas.
- You can work offline, up a mountain or on the beach.
It’s a great way to get going so let’s get to it.
Windows 11
The first step: install Windows 11. The following steps – to install MongoDB and Studio3T – work on Windows 10 too, but I’m assuming you want to try the latest Windows. For that, head to this Microsoft article: Ways To Install Windows 11.
Once you’ve been through the process – and it will take a while – your machine will now be running Windows 11. Check out the sleek new taskbar and we’ll move on…
MongoDB on Windows
Installing MongoDB on Windows has never been easier. You can find the full instructions here. On Windows 11, you’ll be using the Edge browser to view all these pages.
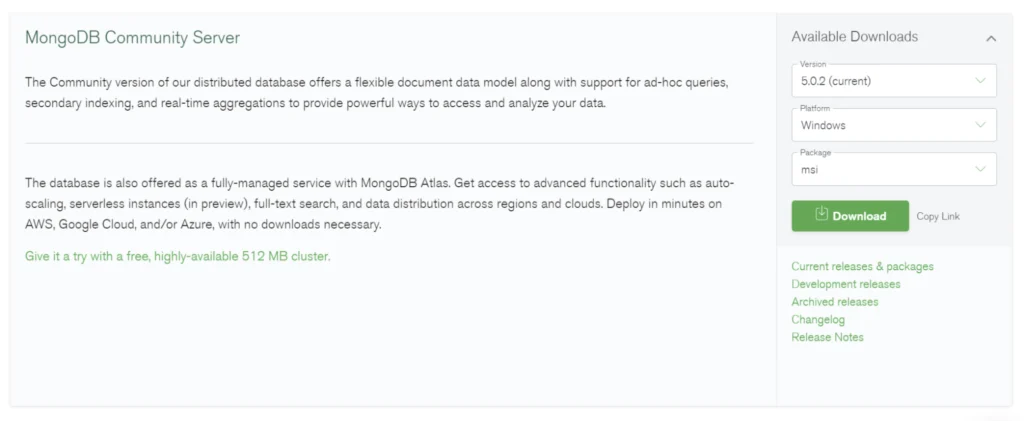
The short version is: go to the MongoDB Download Center where it’ll display the MongoDB Community Server. On the right hand side of the page, it shows version, platform and package. It should autodetect these if you are viewing the page on your Windows machine. If not, set the Platform to Windows and the Package field should auto-update to MSI. Now click Download.
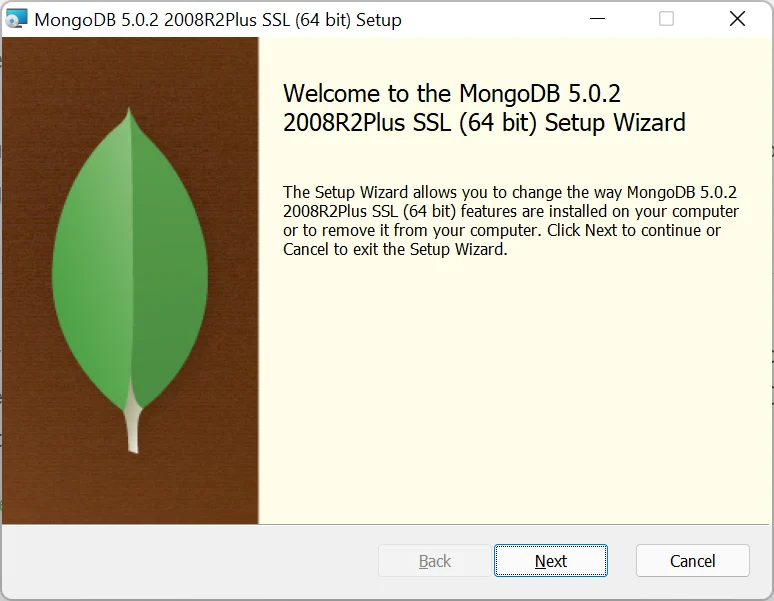
The Edge browser will show the file downloading in a drop-down panel. When the download is complete all you need to do is to click on the file in that drop-down to launch it. MongoDB’s installer will then kick in. Click Next to begin.
Agree to the license and click Next to see the installation options. Select Complete. You will immediately be taken to a service configuration screen.
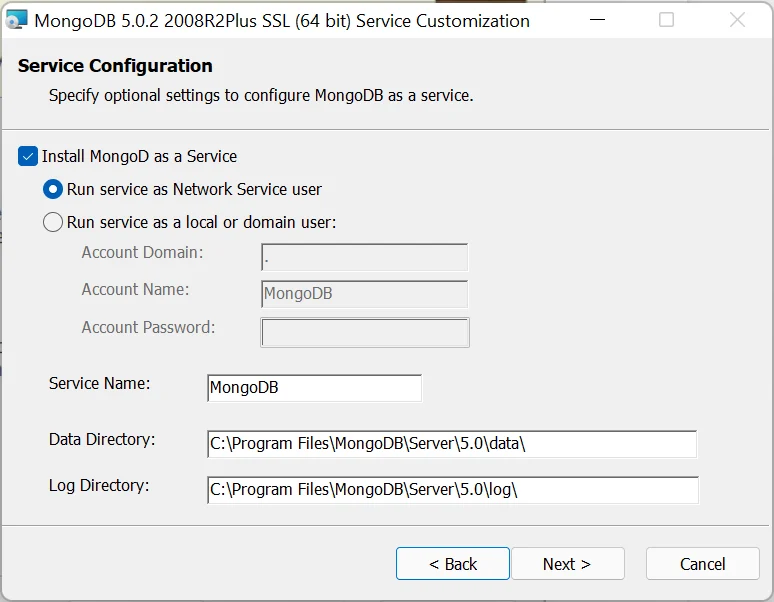
Make sure Run MongoD as a service is checked and click Next. Uncheck Install MongoDB Compass to avoid more downloading and click Next.
This is the final confirmation screen. Click Install. After the obligatory security check, MongoDB will be installed. It’ll show you when it has finished. Now you have a fully functional document database at your fingertips.
Studio 3T on Windows
Time to install Studio 3T to give us that full GUI/IDE experience. Head over to the Studio 3T download page. Like the MongoDB download page, this should also auto-detect the OS. Fill in your name, email and optionally, phone number, and click the Download for Windows button below the form. This will take you to a new page and the download drop down window will appear.
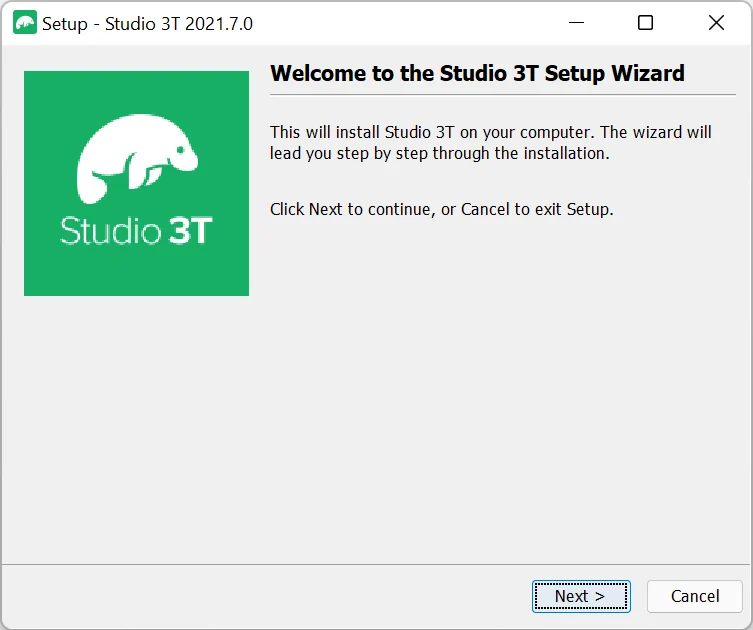
When it has completed the download, double click on the zip file in the download window to reveal the installer – studio-3t-x64.exe. Start the installation by double-clicking that studio-3t-x64.exe file. After security checks, it will display the welcome screen. Click Next.
At this point, you are warned that older versions will be automatically uninstalled – as this is a new installation, there’s no need to worry. Just click Next. If you want to install Studio 3T in another directory, select that directory here. Or just click Next and the installation will begin.
Once all the files are installed, you’ll be taken to the Completing screen. Clicking Finish here without changing the settings will give you a desktop icon for Studio 3T and start it up right away. So click Finish and let’s move on!
Starting Studio 3T
If you didn’t start Studio 3T after installation, you should have a Studio 3T icon on your desktop that you can click. If not, you can tap the Windows Key and type “Studio 3T” and Windows will locate your freshly installed app and run it. Whichever way you start it, your first task will be to connect to your local MongoDB instance.
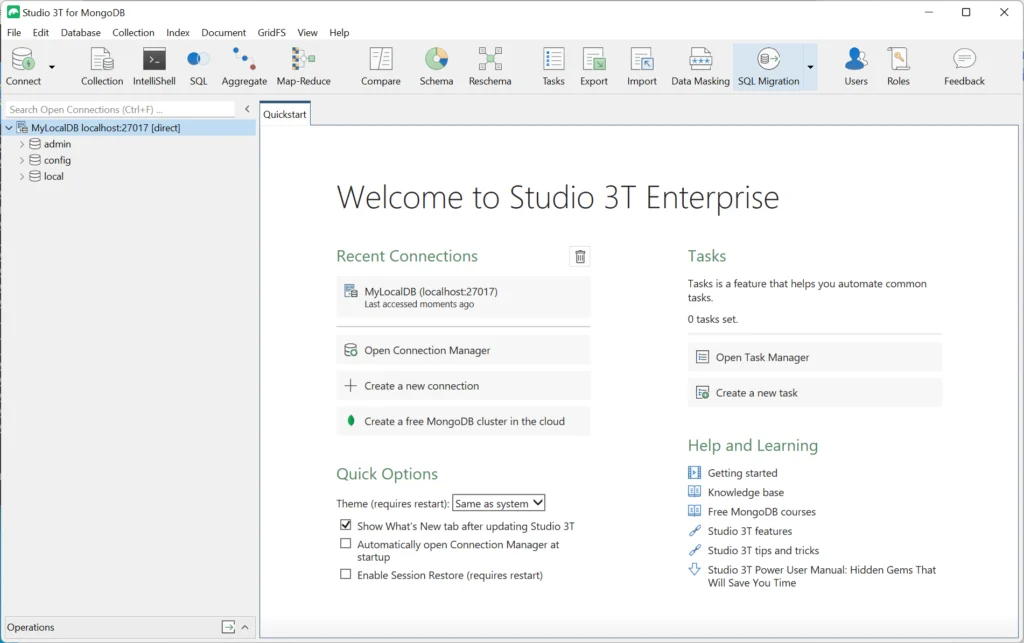
Click on the Connect icon to bring up the Connection Manager.
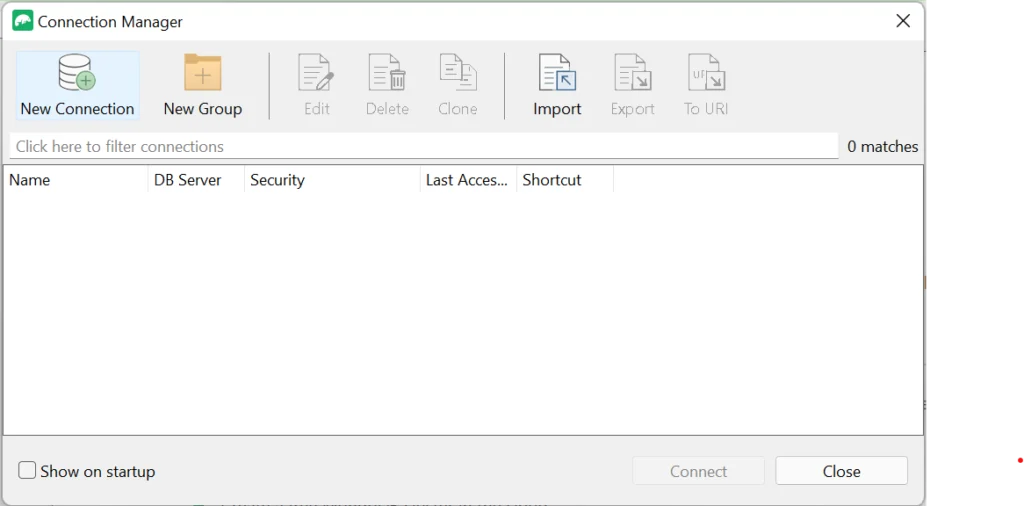
There are no connections here yet, but as you connect to databases with Studio 3T, all your connections will become available here. Right now, we want to connect to the local MongoDB instance you just installed. Click on New Connection to bring up the New Connection dialog.
Give the connection a friendly name by filling in the Connection name field; we’ll use MyLocalDB in this example. Now, the connection type is Standalone and Studio 3T has already filled in localhost for you as the location of the server. Click Test Connection and Studio 3T will connect to your local MongoDB server.
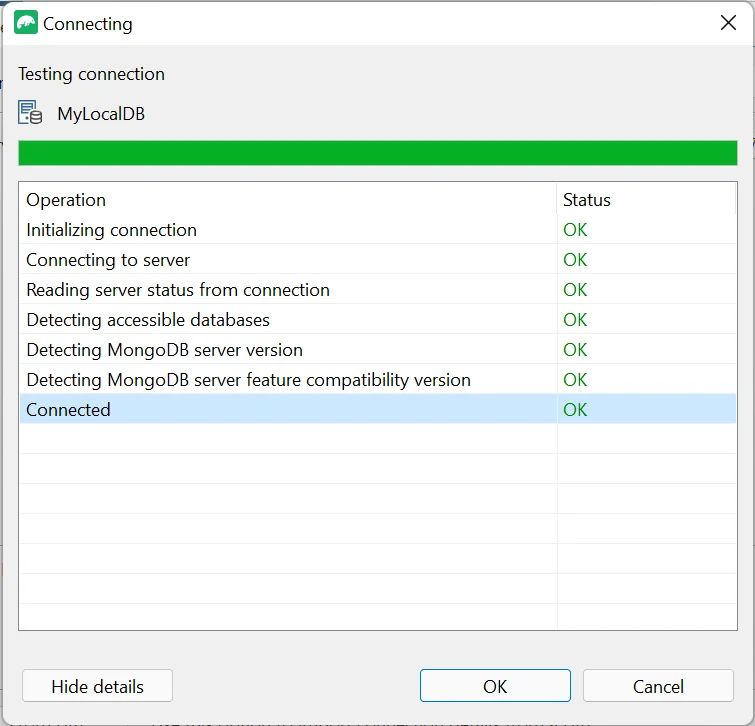
It shows all green ticks for a good connection. If all is well, click OK and then Save.MyLocalDB should be selected in the Connection Manager, so go ahead and click Connect. And there, in the connection tree on the left, is your connection to the local MongoDB.
Get some data to work with
Find your data
What would a database be without some data? We’re going to show you how to import the archive of sample data that is available with MongoDB’s Atlas service.
https://atlas-education.s3.amazonaws.com/sampledata.archive
Now, you can use Windows command line tools like curl to download this file. But in our experience, that’s usually super slow. Instead, open up the Edge web browser and paste that URL above into the address bar. Then hit Return
The browser will detect its a file and start downloading it to your Downloads directory. You should be able to follow its progress in the downloads drop-down panel.
Setting up an Import
When it is complete, head back to Studio 3T and click on the Import button in the Toolbar. That’ll bring up the Import wizards. The file we are importing is an archive created by mongodump. So select BSON – mongodump archive from the options and click Configure to set up this import.
Upon clicking configure, you’ll meet the BSON Archive Import screen. Don’t worry, there’s a lot of fields but we only need to set two of them; the target connection and the archive to import.
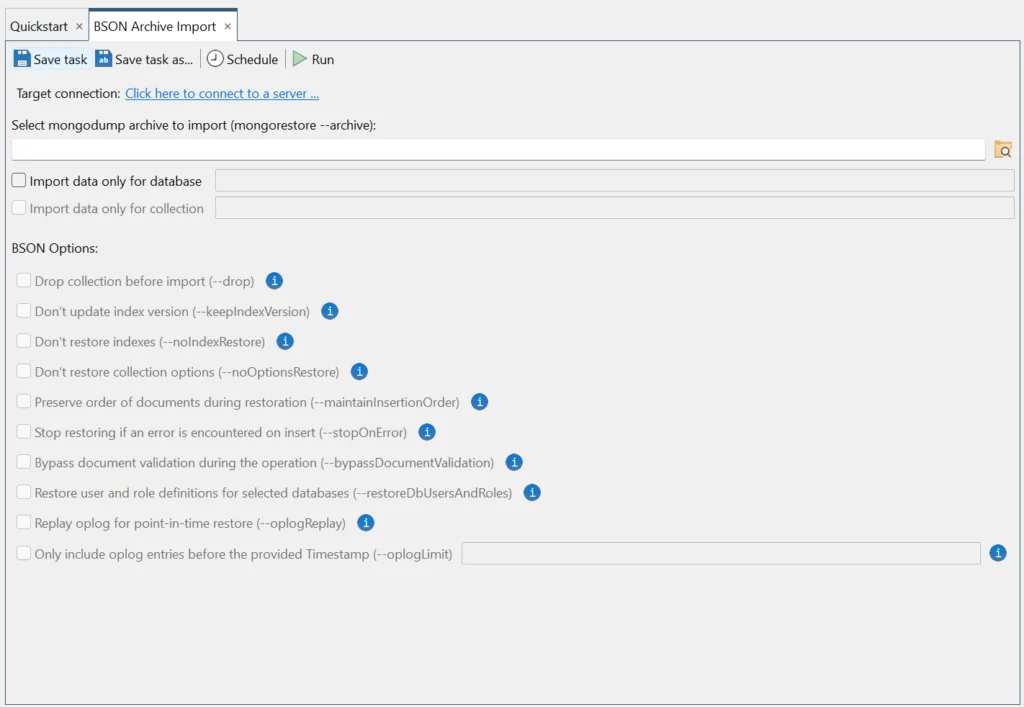
First, set the database we are going to import into. Click on the Click here to connect to a server link and you’ll see the Connection Manager window again. Select your local database, click Connect and the Target connection entry should now show your database.
Second, we need to select the file we are importing. Click on the folder at the right hand end of the “Select mongodump archive to import” field. This will open the file selection dialog. Navigate to your Downloads directory.
If you don’t see your archive in the list, look at the bottom right of the window. You should see it is filtering for .agz files (Gzipped Archive files, compressed to save space). Click on this and you’ll see the other option is .archive files (uncompressed archives). Select that and you should see your downloaded file. Select it and click Open.
Running the Import
You’ll be back at the Import dialog. Quickly check the right database and archive are selected. When you are ready, click the Run button and confirm that you want to start the import. The operations pane in the lower left-hand corner will popup and give details of the progress the import is making.
When complete, not all the imported collections will be visible. We’ll need to refresh the tree so select the database connection at the top of the tree and either select the Refresh option from the right-click menu or hit Control+R to refresh all the tree.
Ready To Run
So now we have a local MongoDB configured, an example data set loaded into it and Studio 3T connected and ready for you to start querying and exploring. Head over to Academy 3T for a selection of course and tutorials you can dive into right now. Or just dive in, click on a collection in your sample data and start building queries using the Visual Query Builder.