In this exercise, you’ll create the pubs database and then import the document data in the british_pubs.csv file to the british_pubs collection. You’ll then review the collection to verify that the document data has been properly imported into Studio 3T.
To import the documents
1. Launch Studio 3T and connect to MongoDB Atlas.
2. In the Connection Tree, right-click the connection (top-level node) and click Add Database.
3. In the Add Database dialog box, type pubs in the Database Name text box, and then click OK.
Studio 3T adds the pubs database node to the Connection Tree.
4. Right-click the pubs database node and click Import Collections to launch the Import Wizard.
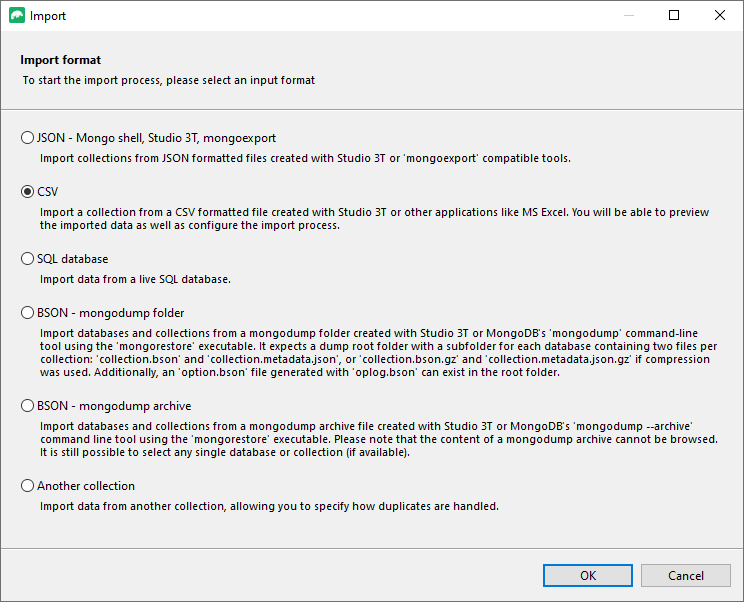
5. On the Choose Import Format page of the Import Wizard, select the CSV option and click OK.
Studio 3T adds the CSV Import tab to the main window. The tab includes two subtabs, Source options and Target options, as shown in the following figure.
6. On the Source options tab, select the Import from CSV File option.
7. In the text box beneath the Import from CSV File option, type the full path to the british_pubs.csv file that you downloaded to your system. Alternatively, click the folder icon to the right of the text box and navigate to the file.
After you add the file path, the Source options tab displays a preview of the first 100 documents.
8. Select the File contains header with field names check box so the first row in the .csv file is used for field names.
9. Go to the Target options tab.
The tab includes options for configuring the document data, as shown in the following figure.
10. From the Insertion mode drop-down list, select Drop collection first if it already exists.
11. From the Empty fields drop-down list, select Exclude.
This ensures that each document includes only those fields that contain actual values, as opposed to null values. For example, a document won’t include the fax or phone field if the value is null.
12. In the Import options section, clear the check boxes associated with the location.easting and location.northing fields.
Studio 3T removes the fields from the JSON output preview window and excludes the fields from the imported data.
The Target Options tab should now look like this:
13. At the top of the CSV Import tab, click Execute.
Studio 3T creates the british_pubs collection and imports the documents into the collection.
14. Close the CSV Import tab.
If prompted to save changes, click Discard changes.
15. In the Connection Tree, double-click the british_pubs collection node to open the collection in a collection tab.
16. Review the documents in the collection.
Studio 3T should have imported 51,778 documents, each describing a British pub.


