As you get started with MongoDB, it will take some time to learn how to query, so we’ve compiled a list of the most common MongoDB commands and how they’re written.
As an alternative, we also show you how to run them – without typing a single line of code – using Studio 3T as a GUI. Even better than a cheat sheet!
1. MongoDB create database
There’s actually no command in the MongoDB shell to do so – MongoDB automatically creates a database when you store data in a collection or document.
In Studio 3T:
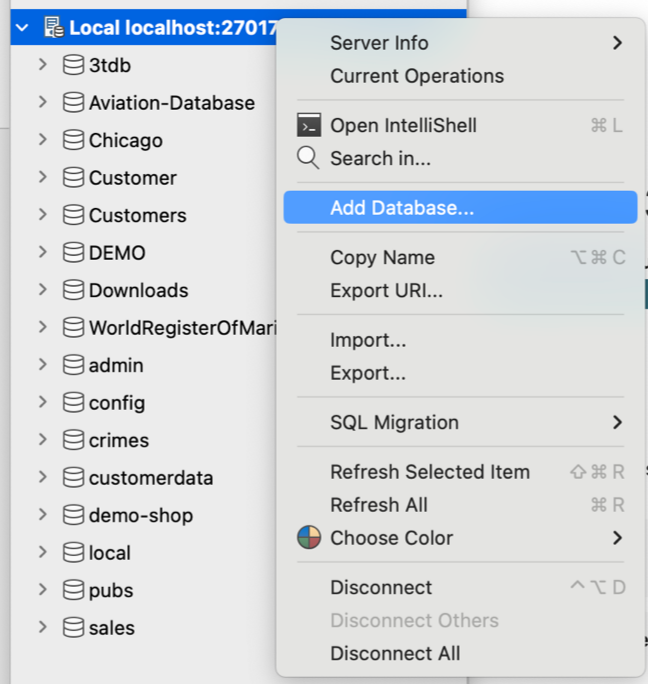
In the Connection Tree, right-click the target server. Choose Add Database.
Name your database – and note the info message.
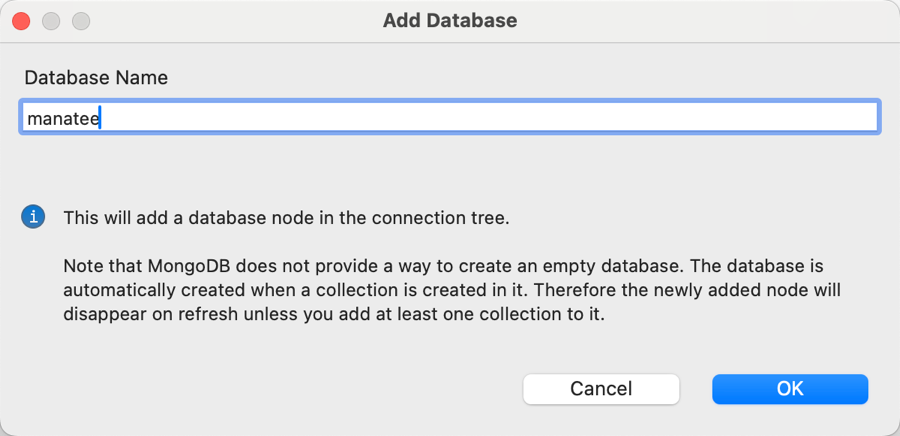
Click OK. Make sure to add a collection!
2. MongoDB drop database
Command:
db.dropDatabase()

//drops the current database you're in
In Studio 3T:
Let’s drop (or delete) the newly created database, manatee.
Right-click the target database. Choose Drop Database.
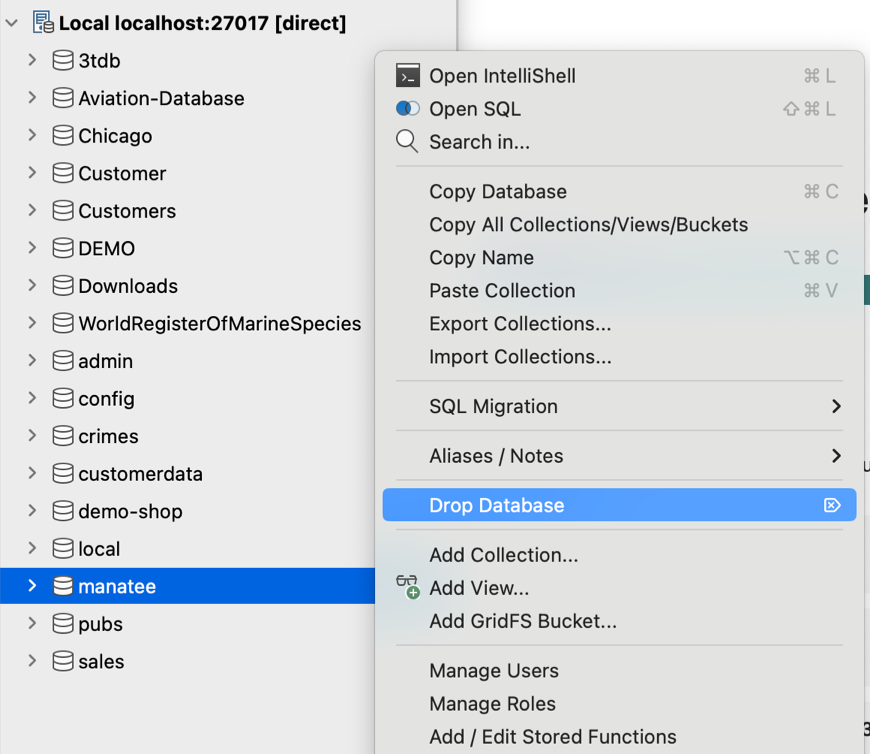
Click Drop Database.
3. MongoDB show databases
Command:
db.adminCommand( { listDatabases: 1, nameOnly: true} )

// lists database names only
In Studio 3T:
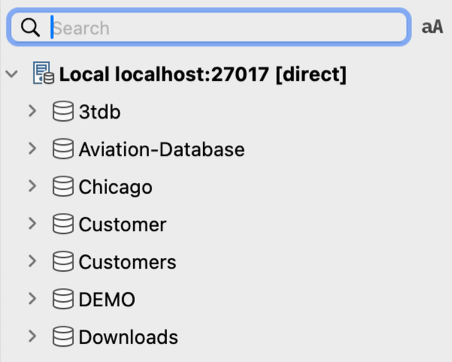
No clicks needed here. You can view all databases from the Connection Tree.
4. MongoDB show collections
Command:
db.getCollectionNames()
In Studio 3T:
In the Connection Tree, click the target database.
Click the Collections folder. This opens up the list of collections within that database.
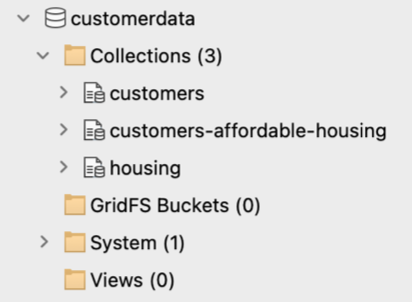
Simply double-click the collections to show data in MongoDB. Learn more about viewing collection data.
5. MongoDB create collection
Command:
db.createCollection("collectionName");
In Studio 3T:
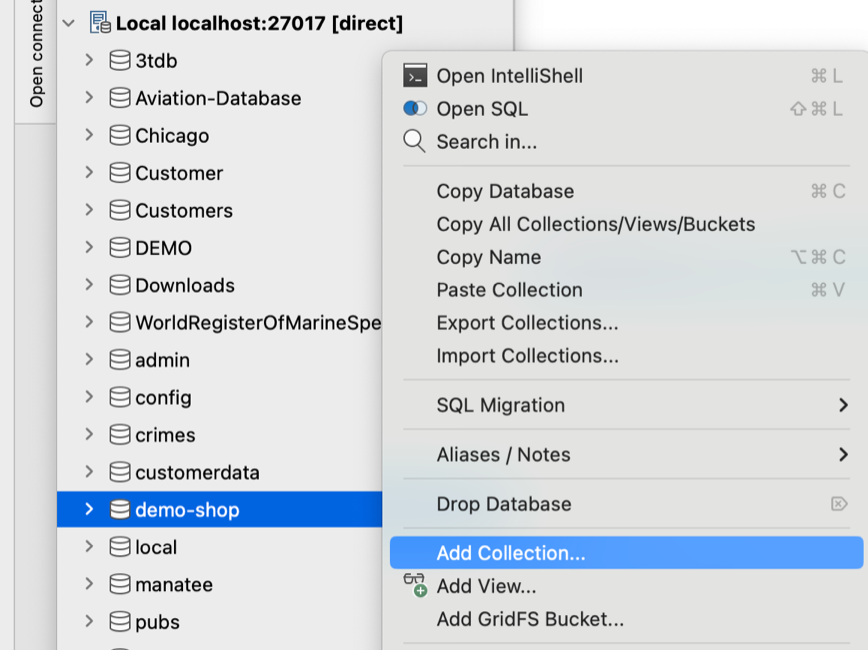
Right-click the target database. Choose Add Collection.
Enter a collection name and configure the settings as needed under the Options, Storage Engine, Validator, and Collation tabs.
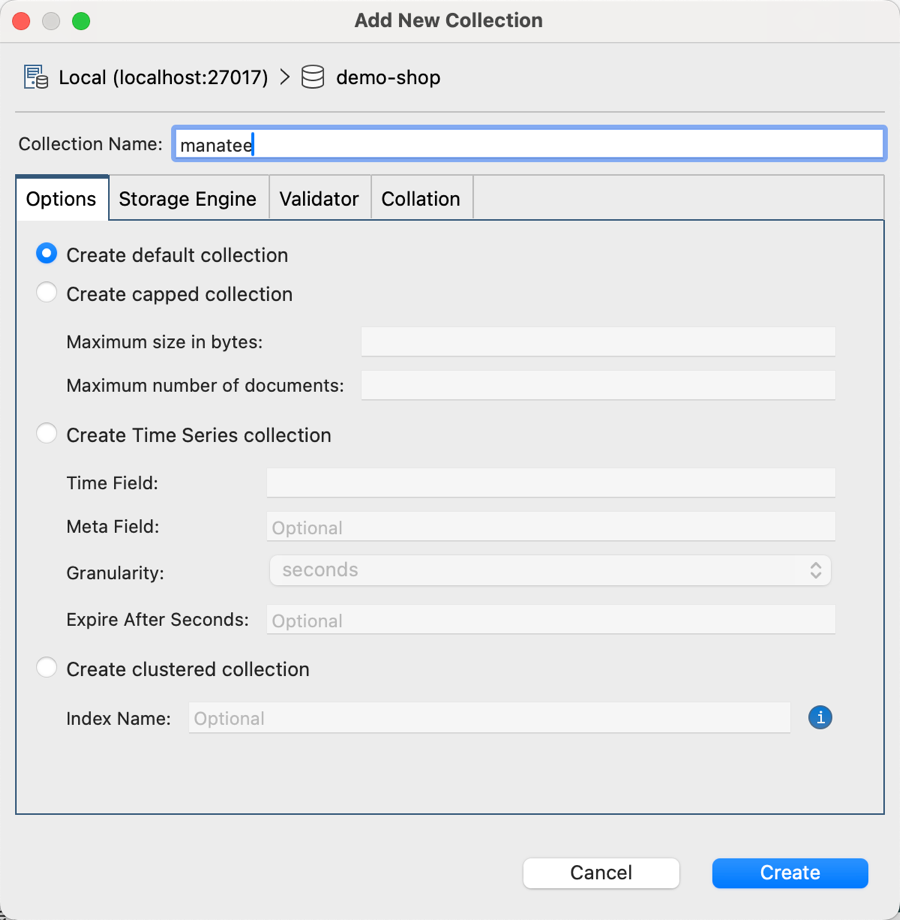
Click Create.
Learn more about working with MongoDB collections in Studio 3T.
6. MongoDB clear collection
Command:
db.collection.deleteMany({})
In Studio 3T:
Right-click the target collection. Choose Clear Collection.
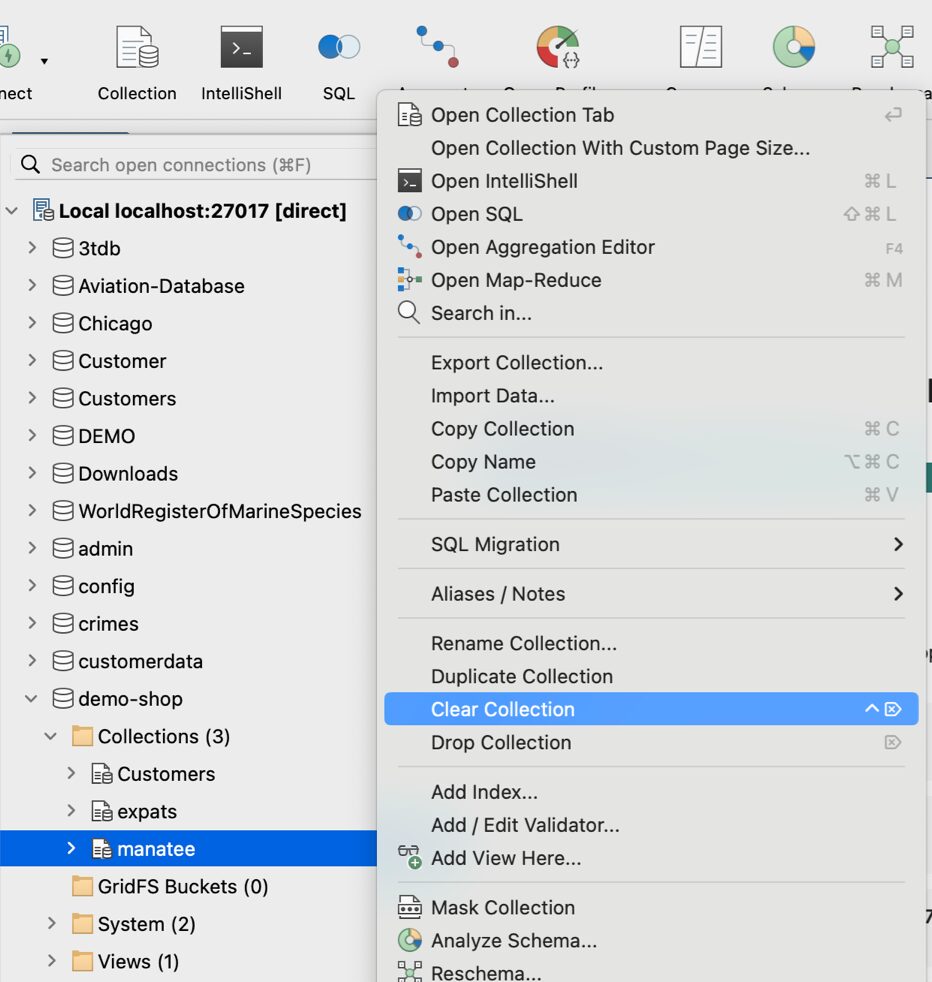
Click Clear Collection.
7. MongoDB drop collection
Command:
db.collection.drop()
In Studio 3T:
Right-click the target collection. Choose Drop Collection.
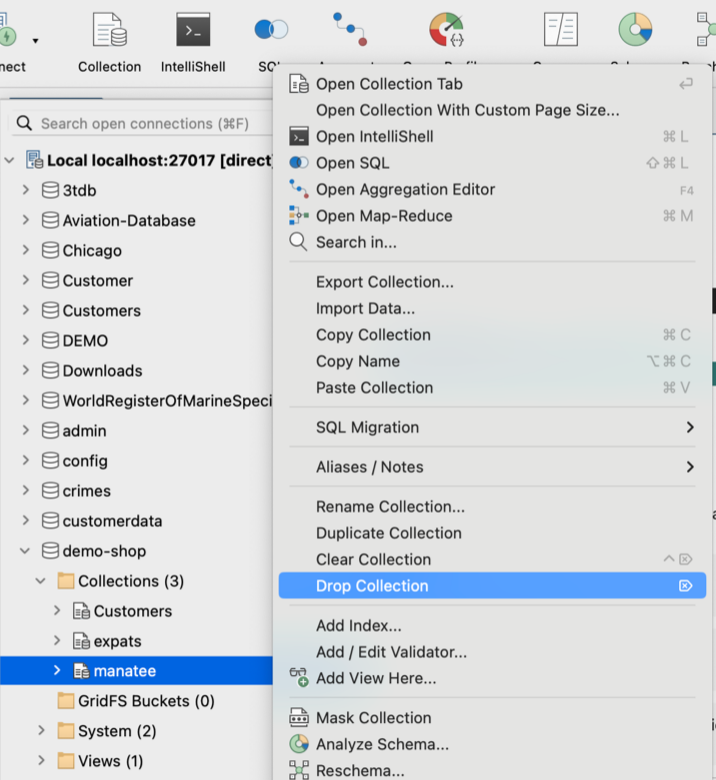
Click Drop Collection.
8. MongoDB insert document
Command:
db.collection.insertOne({ field1: “value1”, field2: “value2” })
In Studio 3T:
While in Table View or Tree View, right-click any cell.
Choose Document > Insert Document. This opens the Insert JSON Document dialog.
Enter the key value pairs. There’s no need to create the _id field – MongoDB does this automatically.
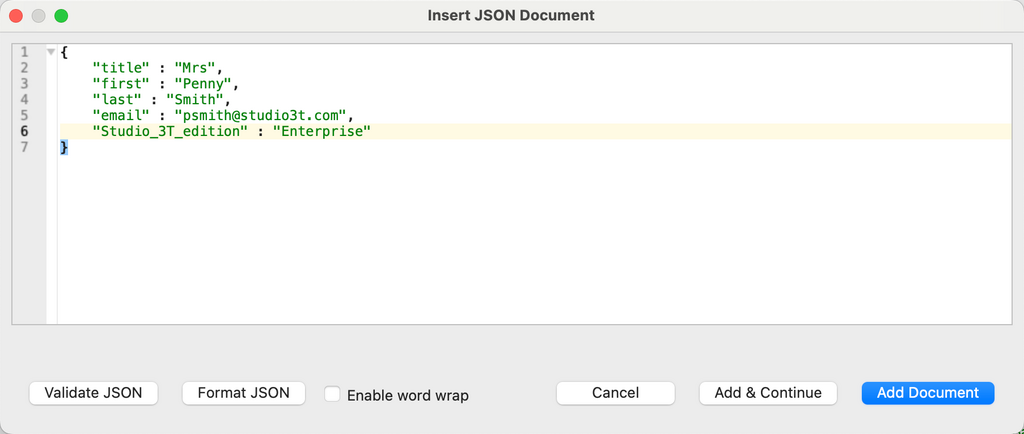
Click Add Document if adding one document, or Add & Continue if adding more documents.
9. MongoDB update document
Command:
db.collection.updateOne(<filter>, <update>, <options>)
In Studio 3T:
Studio 3T supports in-place editing, so all you need to do is double-click a value to edit it.
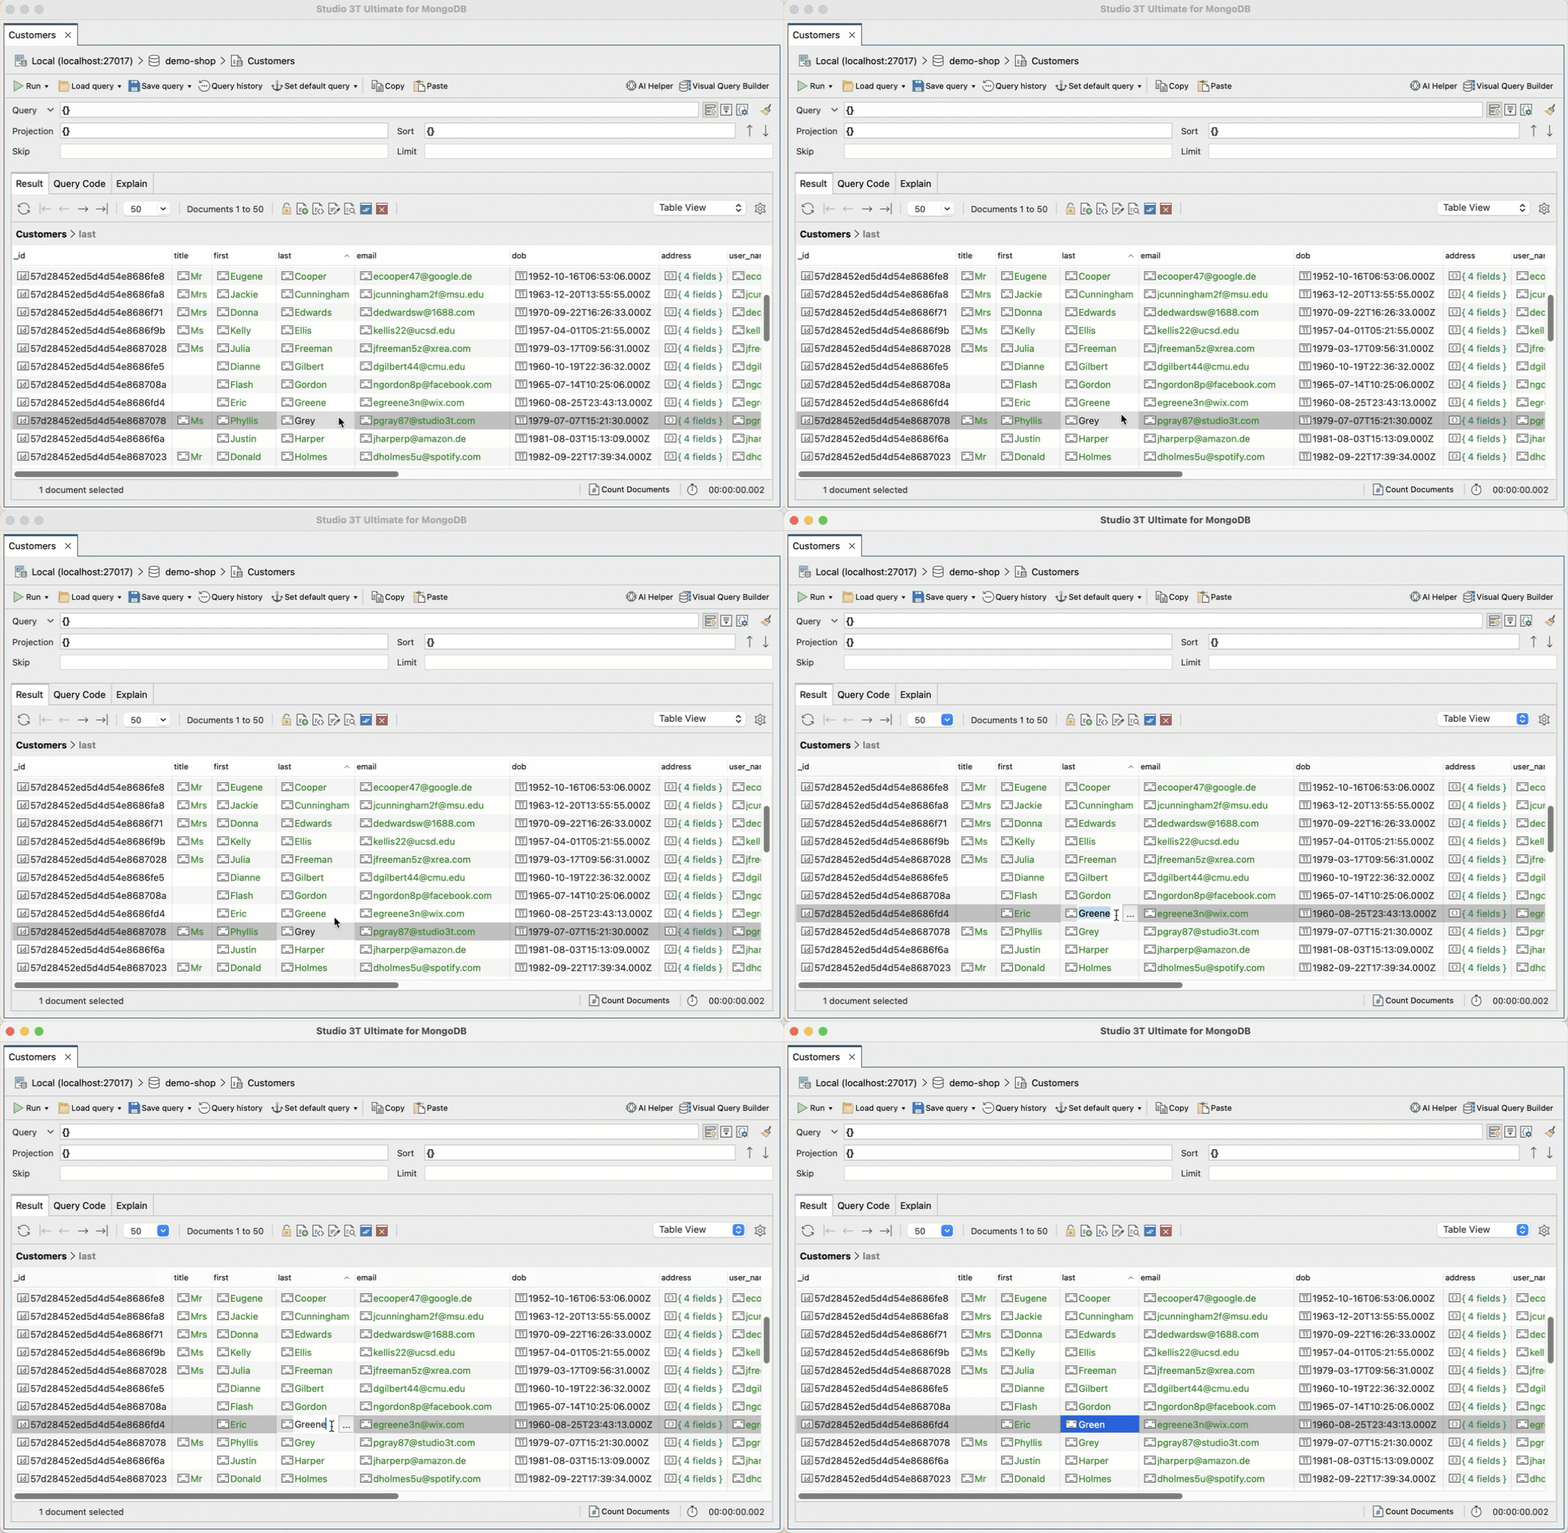
Here’s the complete article on how the MongoDB updateOne () method works in Studio 3T.
10. MongoDB delete document
Command:
db.collection.deleteOne()
In Studio 3T:
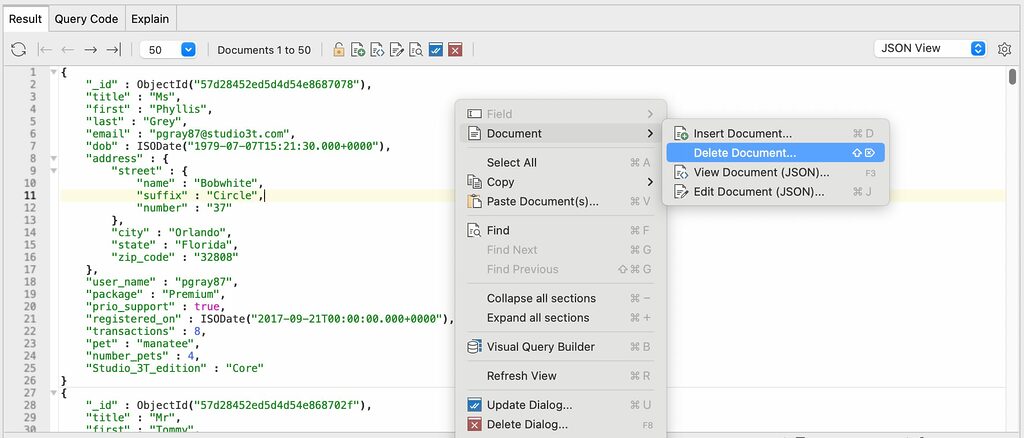
Right-click the target document. Choose Delete Document.
11. MongoDB add field
Command:
{ $set: { <field1>: <value1>, ... } }
In Studio 3T:
Right-click anywhere in Tree View. Go to Field > Add Field/Value.
- Enter a field name
- Choose the field type
- Define the field value
- Choose where to add the field (Current document only, Documents matching query criteria, All documents in collection).
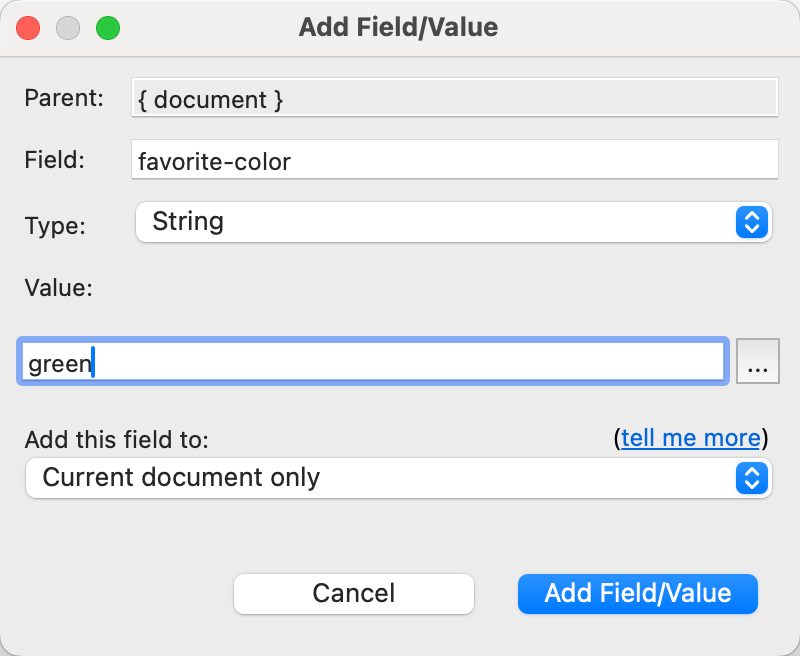
Click Add Field/Value.
12. MongoDB rename field
Command:
db.collection.update({query}, {\$rename: { <field1> : <newName1> , <field2> : <newName2>}})
In Studio 3T:
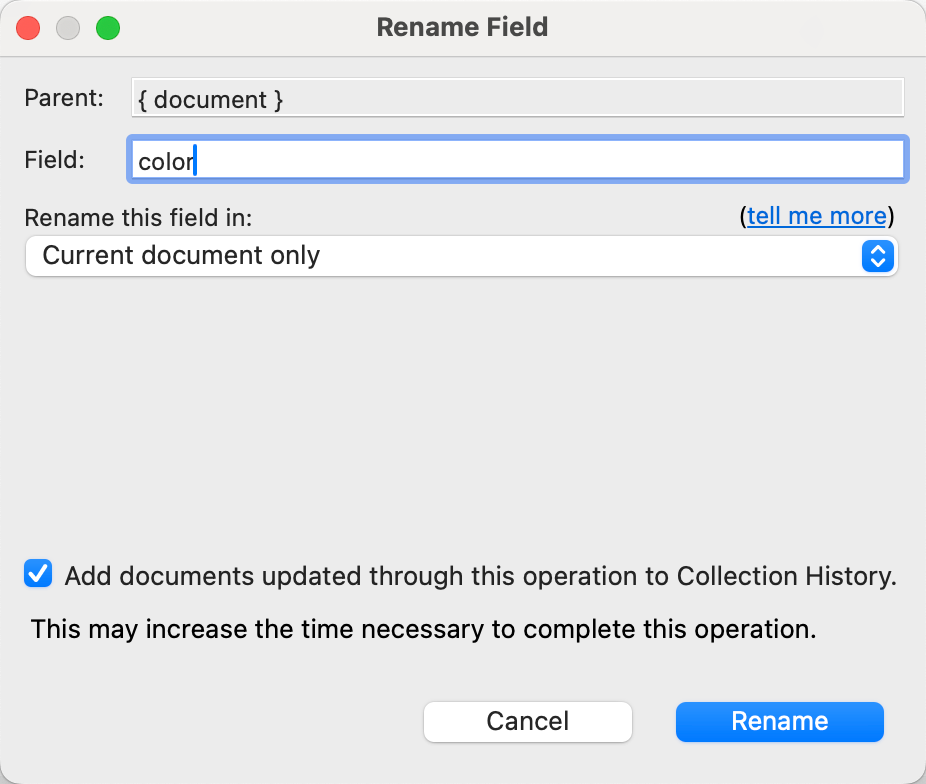
Let’s rename the field from favorite-color to color.
- Right-click any cell that contains the field you want to rename.
- Go to Field > Rename Field.
- Update the field name.
- Choose where the field name should be updated (Current document only, Documents matching query criteria, All documents in collection).
- Click Rename.
13. MongoDB remove field
Command:
db.collection.update({}, {$unset: {<field1>:1}}, false, true);
In Studio 3T:
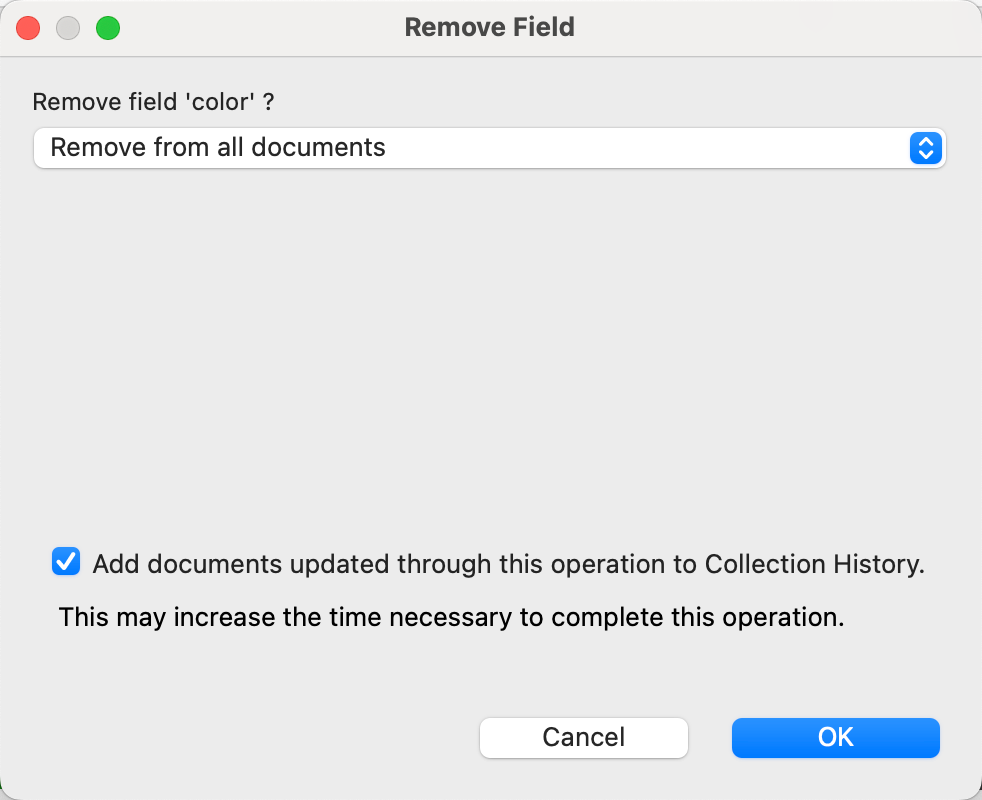
Let’s remove the color field entirely.
- Right-click the cell of the field you want to delete.
- Choose where you want to remove the field (Remove from current document only, Remove from all documents, Remove from documents matching current query).
- Click OK.
This article was originally published by Kathryn Vargas and has since been updated.


